
In the realm of digital design, the ability to harness vector graphics opens up a world of possibilities. Among the various tools available, Inkscape stands out as a robust and free vector graphics editor that empowers users to create intricate SVG (Scalable Vector Graphics) files. In this exploration, we’ll delve into the nuances of crafting vector brilliance using Inkscape, from the initial setup to advanced techniques that elevate your designs.
Contents
Embracing the Vector Revolution:
Understanding the power of vectors is essential before delving into Inkscape. Unlike raster images that rely on pixels, vectors utilize mathematical equations to define shapes and paths. This fundamental difference makes vector graphics resolution-independent and ideal for various applications, from web design to print media.
Step 1: Install Inkscape and Set Up Your Canvas
Begin your journey by downloading and installing Inkscape on your preferred operating system. Once installed, launch the application and create a new document. Set up your canvas size based on your design preferences, keeping in mind the scalability advantage of vector graphics.
Step 2: Import Your Inspiration
Inkscape allows you to import a variety of file formats, including raster images like PNGs or JPEGs. Bring your inspiration onto the canvas and get ready to transform it into a dynamic vector creation.
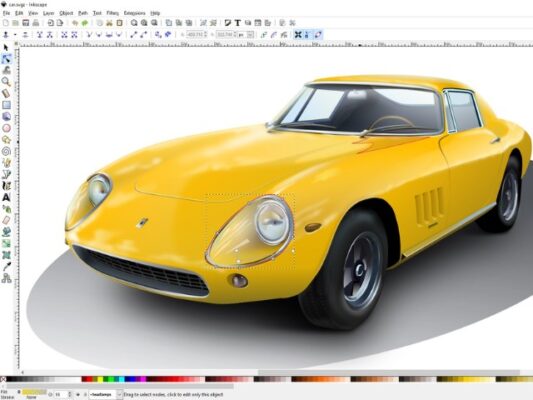
Step 3: Mastering the Pen Tool
The pen tool is a fundamental feature in vector graphic creation. It allows you to draw precise paths and shapes. Here’s how to master it:
- Select the Pen Tool: Click on the pen tool icon in the toolbar.
- Create Anchor Points: Click to create anchor points, and drag to create curves.
- Close Paths: To close a path, either click on the starting point or press “Ctrl” (or “Cmd” on macOS) while clicking.
Step 4: Transforming Raster to Vector
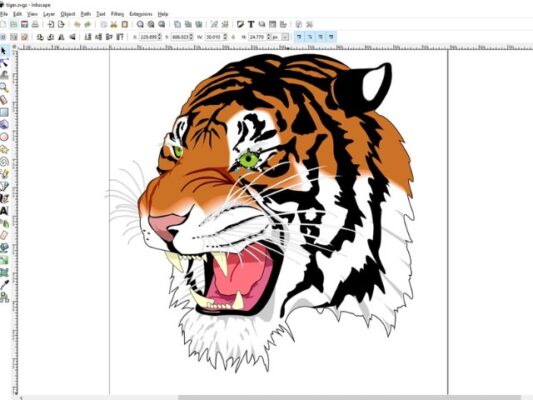
Inkscape’s “Trace Bitmap” feature is a game-changer for converting raster images into editable vector paths. Follow these steps:
- Import Your Image: Import the raster image you want to trace.
- Access the Trace Bitmap Panel: Navigate to “Path” in the top menu, select “Trace Bitmap,” and adjust settings to achieve the desired result.
- Apply the Trace: Click “Update” to preview the traced image and then hit “OK” to apply the trace.
Step 5: Layers and Organization
Inkscape offers a layer system that allows you to organize different elements of your design efficiently. Utilize layers to manage complex projects and maintain a structured workflow.
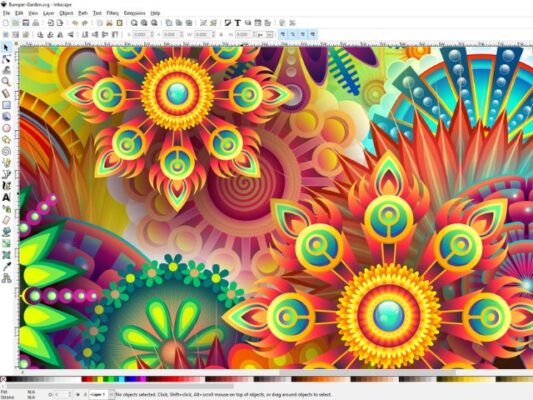
Step 6: Styling Your Creation
Enhance the visual appeal of your vector artwork by exploring Inkscape’s styling options. Experiment with gradients, strokes, and fills to add depth and personality to your design.
Step 7: Exporting Your SVG Masterpiece
Once satisfied with your creation, it’s time to export your SVG file. Navigate to “File” and choose “Save As.” Select the SVG format, and Inkscape provides various options to customize the output.
Advanced Techniques for the Enthusiast:
- Clipping and Masking: Explore Inkscape’s capabilities for clipping and masking to create intricate visual effects.
- Patterns and Gradients: Master the art of using patterns and gradients to add texture and dimension to your vector designs.
- Text Manipulation: Inkscape allows for versatile text manipulation. Experiment with text on paths, flowing text, and custom fonts.
Inkscape is more than just a tool, it’s a gateway to unleashing your creativity in the vector realm. By mastering its features, experimenting with techniques, and continuously refining your skills, you embark on a journey of crafting vector brilliance. From the simplicity of the pen tool to the intricacies of advanced styling, Inkscape empowers you to transform your ideas into dynamic and scalable SVG masterpieces. So, dive in, explore the endless possibilities, and let Inkscape be your compass on this creative voyage.
And recently, you probably already know how to make a SVG file with Inkscape. If you’re curious about other aspects of SVG files, check it out here